You will often need to displace a wall or a pillar, for example. I am not talking about optical effects like bump or normal, but about the creation of real tridimensional heights therefore using displacement.
As you will see straight away the problem is that when we apply displacement to a polygonal object with hard edges, like a pillar, there will be some holes on the sides, the faces come apart from one another, making the shader totally unusable in this case.
The shader will remain continuous only where there are soft edges between faces.
The displacement interrupts the continuity of the surface where there are hard edges.
The popular method to bypass the problem is to apply bevel on all hard edges and then applying a soften edge with a value of 180 so that we can completely remove the hard edges from the object's shading.
However I think that this solution is not elegant because it alters the topology of the object making it harder to modify if needed. Besides you will probably create an area with a higher polygonal density on the edges that leads, in my experience, to the creation of artifacts while rendering. The approximation algorithm subdivides the geometry more densely where it finds more faces so the displacement will have more detail on the edges than on the center of the face, creating an unpleasant visual effect.
A better solution consists in using the crease tool and the smooth mesh preview in Maya to tell to Mental Ray where the edges have to stay hard, while maintaing an even mesh subdivision.
In detail:
- assign a material with a displacement shader to the object. You can find precise instructions in this article;
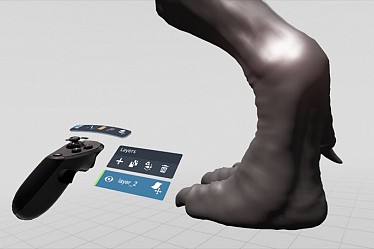
- select the mesh and activate the smooth mesh preview by pressing the "3" key on the keyboard. The object will get a rounded look: don't panic, we will soon bring it back to it's original shape;
- set the level of subdivision of the smooth operation by going in the smooth mesh section of the object and choosing the value of Preview Division Levels.
- on Extra Controls disable Smooth Uvs to prevent the texture from deforming on its edges.
- select all the object's edges that have to stay hard.
- with the crease tool drag until you reach a value that is equal or bigger than the assigned number of subdivisions. If this is 2, for example, to create a full crease we have to reach 2.
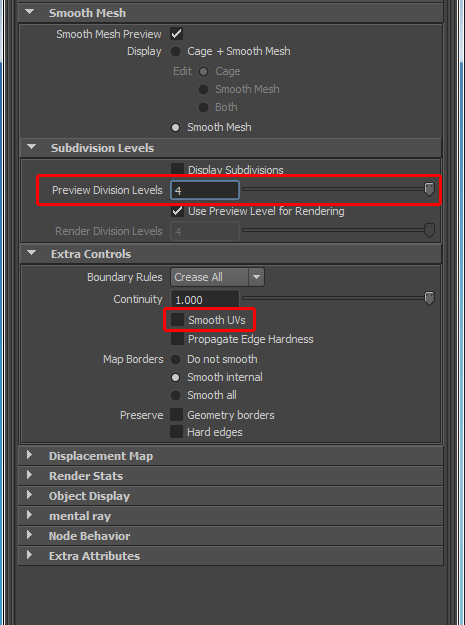
The attributes of the Smooth Mesh section that have to be set.
Now the original shape of the object has been restored.
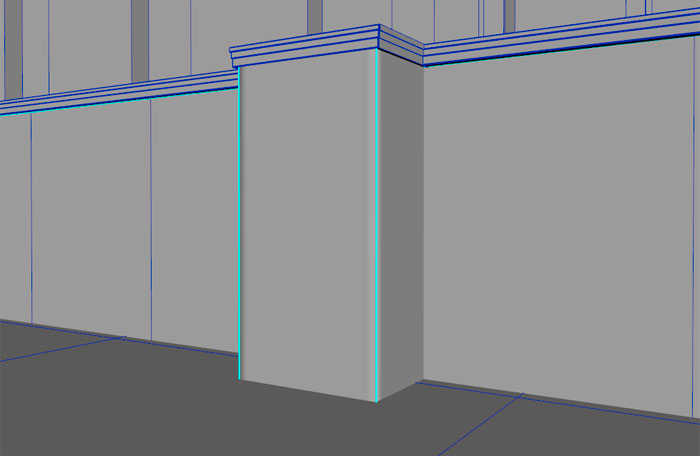
Wireframe of the geometry of the pillar. Note how the original topology and shape are now respected.
- open the attribute editor of the texture file that has the displacement map. Right click on Alpha Offset, choose "create new expression" and insert the following:
float $offset = 1;
[displace_map_file_name].alphaOffset = ([displace_map_file_name].alphaGain / 2) - $offset;
In this way the height generated by the displacement will be distributed half over the level of the starting surface and half under it. If you need to distribute the heights in a different way you just need to edit the value of the $offset variable.
Finally we have to lay the uv coordinates so that no texture seams are created between one face and another.
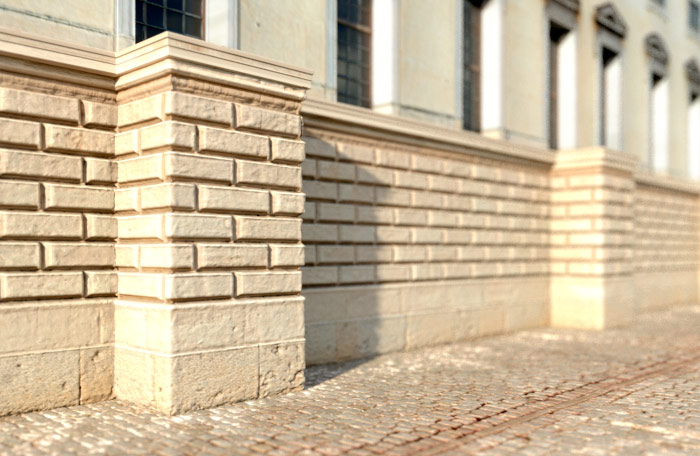
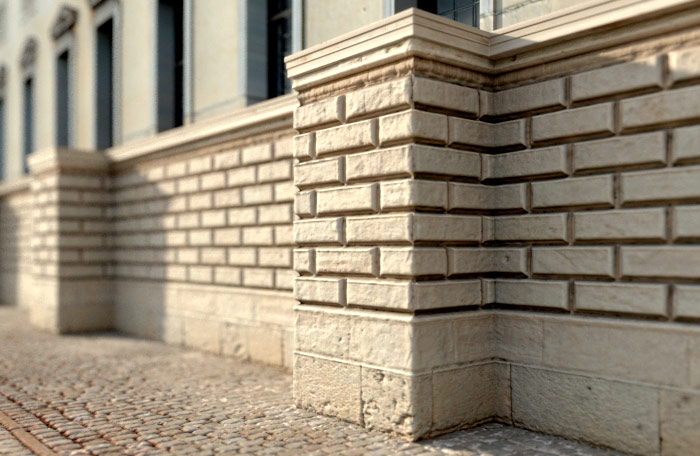
An example of displacement on objects with hard edges. There are no gaps on the edges of the pillars.
Pay attention
As explained in this post, maya to mental ray is not capable of reading maya crease values when nodes of subdivision approximation are used. It's not a bug, but a choice due to patent issues, how Steve, a Mental Ray developer, explains. Therefore in our case we don't have to use the approximation editor. As it turns out, this isn't a big problem because the detail level of the displacement remains quite good and it doesn't have a great impact on the general performance.
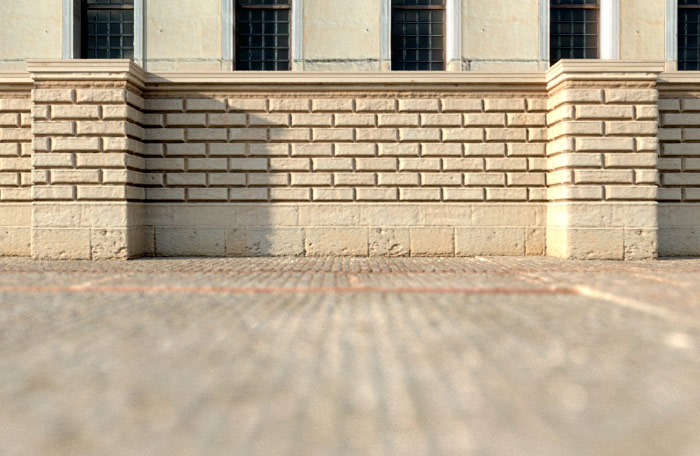
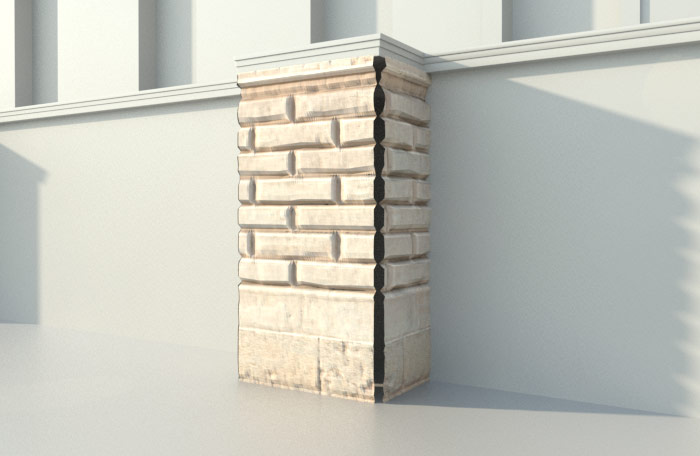
Another example of displacement of objects with hard edge.
I hope that this article will help you out. Tell me your experiences on this matter!