You just need to insert the texture in the Displacement mat slot in the Shading Group Attributes section of the shading group of your material. Maya will create an intermediate displacement node. Offset and intensity of the displacement are controlled by alpha gain and alpha offset of the texture. This workflow behaves perfectly even with mental ray, but it uses non-native nodes of the rendering engine that have to be translated and interpreted by the engine. I prefer, when possible, to use methods that are totally native in mental ray.
The second method doesn't involve intermediate nodes from maya. Obviously since we're dealing with mental ray the workflow is less intuitive.
The correct procedure is the following.
After having created your texture, open the shading group section of the material in mental ray. Here you can see the displacement shader slot, this is what we will use. We would instinctively insert here the texture directly. Unfortunately it would not work. We need a node that translates our image in values that mental ray's displacement engine can understand.
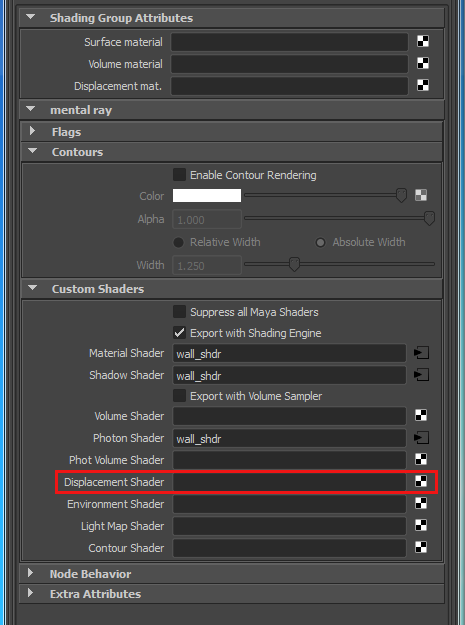
The displacement slot in the shading group of the material.
Now create a mib_color_alpha node that you can find in hypershade's sample compositing section.
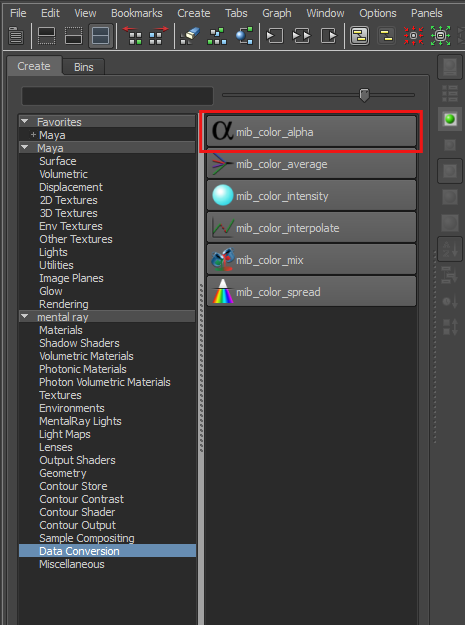
Creation of a mib_color_alpha node.
What does this node do?
Let's read the documentation:
“This shader converts a color to RGBA grayscale by extracting the alpha component. The resulting grayscale value can also be used as a scalar. The returned R, G, B and A components all have the same value.”
Basically it transforms the alpha values of the texture and transforms them in luminance values interpretable as heights by the displacement. Someone uses mib_color_intensity, that works in a similar way but starting from the RGB channel of the image and not from the alpha. This doesn't allow to set the offset of the texture at negative values meaning that it is not possible to have, in the displacement, heights that are lower than the level of the surfaces of our geometry, because if we alter the color offset of the texture, the RGB values cannot go negative (a zero value represents in fact the level of the surface of the starting shape).
With mib_color_alpha instead we can control the intensity and offset of the displacement through alpha gain and alpha offset, so we can go beneath the level of the surface of the shape.
First of all we need to connect the texture to the input attribute of this node. To make it work we need to activate Alpha Is Luminance in the Color Balance section of our texture.
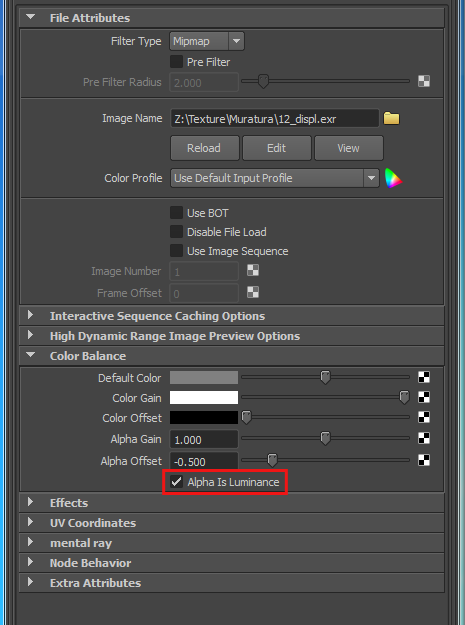
Activate alpha is luminance in the texture's color balance section.
We have to turn off Filter Type. It is important because we do not want that maya interpolates displacement samples.
Now we need to insert mib_color_alpha in the displacement shader slot of the shading group.
Finally in order for mental ray to be efficient and able to controll the amount of subdivisions of the surface at render time, we have to assign to the shape an approximation node.
From the menu Window > Rendering Editors > Mental ray > Approximation Editor create a Subdivision approximation node. I usually chose Spatial as Approx Method and I modify the Max Subdivisions and Length values based on my needs.
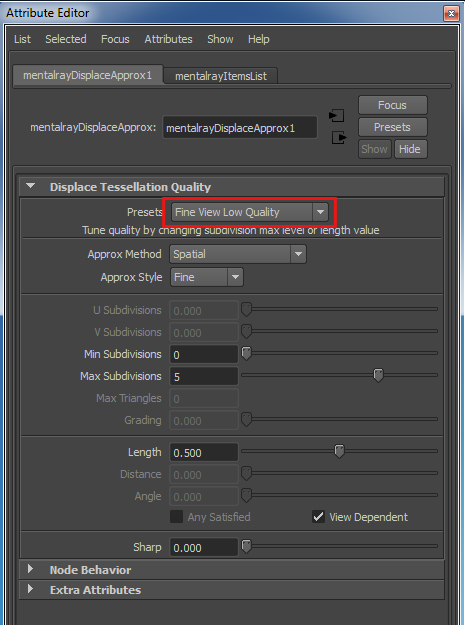
Attributes of the displacement approximation node.
We now have our displacement optimized for the use with mental ray.
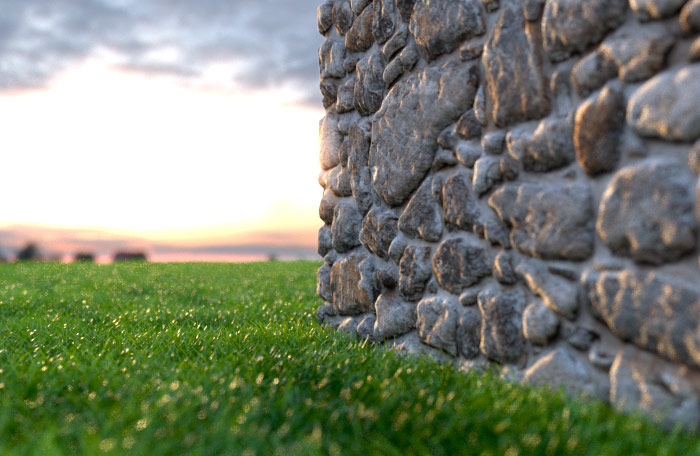
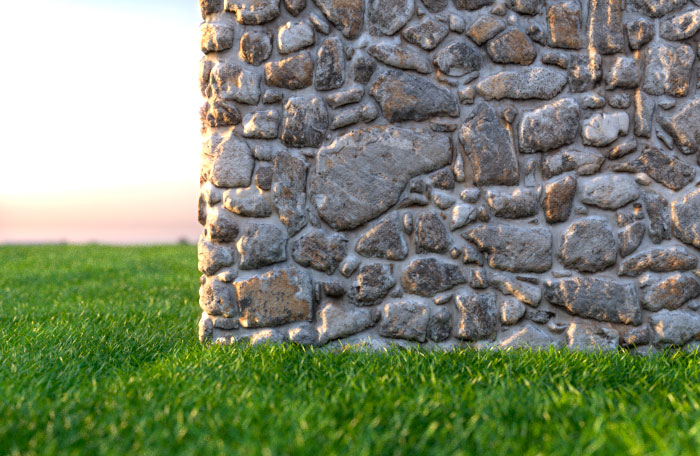
Image of a surface with displacement.


